Follow the steps below to successfully set up and install a Meta pixel on your website.
Already created a Meta Pixel? Check out our blog on how to share a Facebook Pixel with a partner.
Note: Before you begin
- You need a website for your business
- You must be able to add your websites code
How to Set Up a Meta Pixel
Step 1:
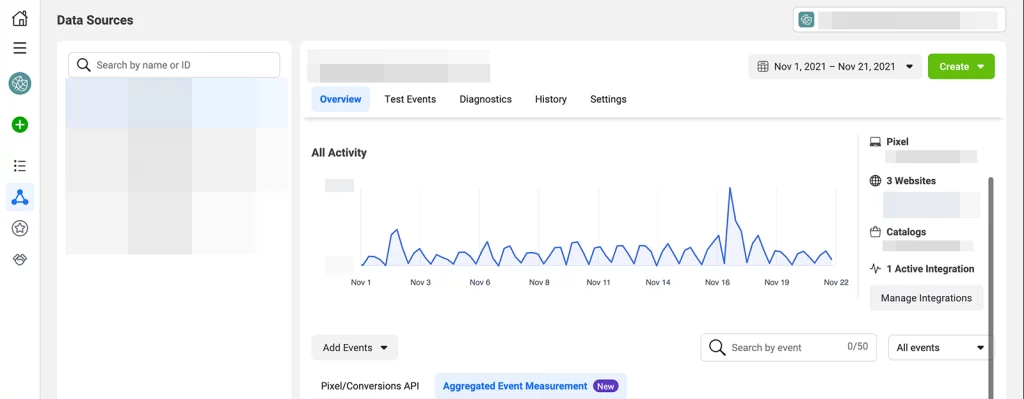
- Go to Events Manager

- Click the + button
- Connect data sources and select web

Step 2:
- Select Meta Pixel and click connect
Step 3:
- Add your pixel name
Step 4:
- Enter your website URL to check for easy set up options
- Click continue
You have now successfully set up your Meta Pixel
How to Install the Meta Pixel on your Website
Once you have created your Meta Pixel, you’re ready to put the pixel on your website. For instructions on how to do this, choose your setup option.
Manually adding Pixel to your Website
Step 1:
- Go to Events manager
Step 2:
- Select the pixel you want to set up
Step 3:
- Set ‘Install code manually’
Step 4:
- Find the header of your website or locate header template in your CMS or web platform
Step 5:
Paste the base code at the bottom of the header section, just above the closing head tag and press continue

Use a Partner Integration
Step 1:
- Go to Events Manager
Step 2:
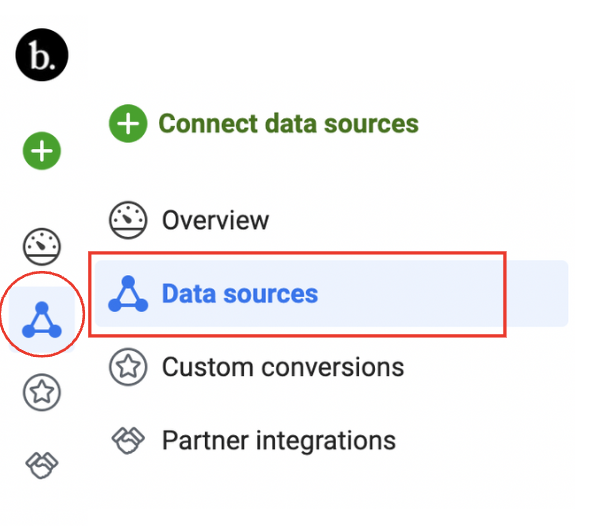
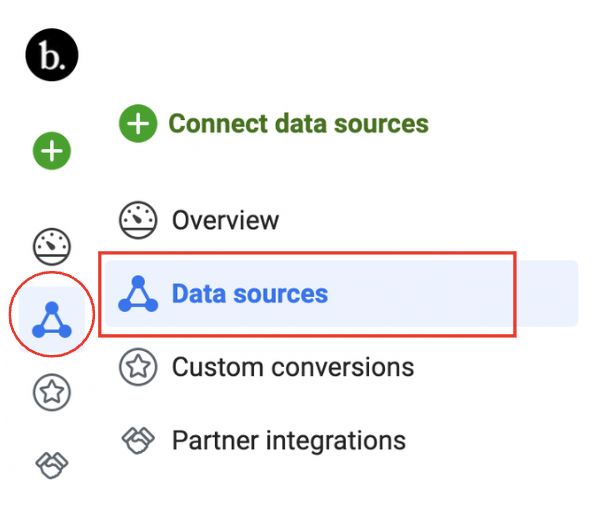
- Click the Data sources icon in the left-hand side of the page

Step 3:
- Select the pixel you want to set up
Step 4:
- Click continue pixel set up
Step 5
- Click use a partner from list
Step 6:
- Select a partner from the list
Step 7:
- Follow the on-screen instructions
Email Instructions
If someone else updated the code in your website, follow these steps to email them your Facebook pixel setup instructions
Step 1:
- Go to Events Manager
Step 2:
- Select the pixel you want to set up
Step 3:
- Click ‘Continue Pixel set up’
Step 4:
- Click email instructions
Step 5:
- Enter the recipients email address
Step 6:
- Click send at the bottom of the page


