Google Analytics is a valuable tool to measure key data sources. Keep reading for a step-by-step guide to giving agency access to your Google Analytics account account!
Step 1
- Sign in to your Google Analytics account
Step 2
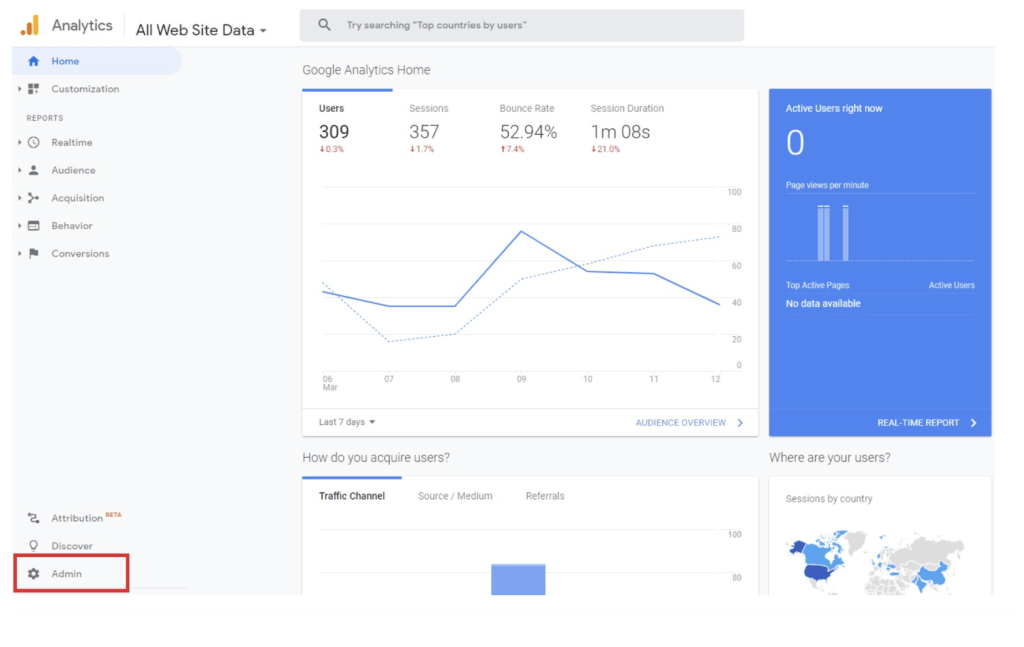
- Once logged in click ‘Admin’ in the lower left of the screen
Step 3
- This will take you to the Admin Panel
- Account
- Property
- View
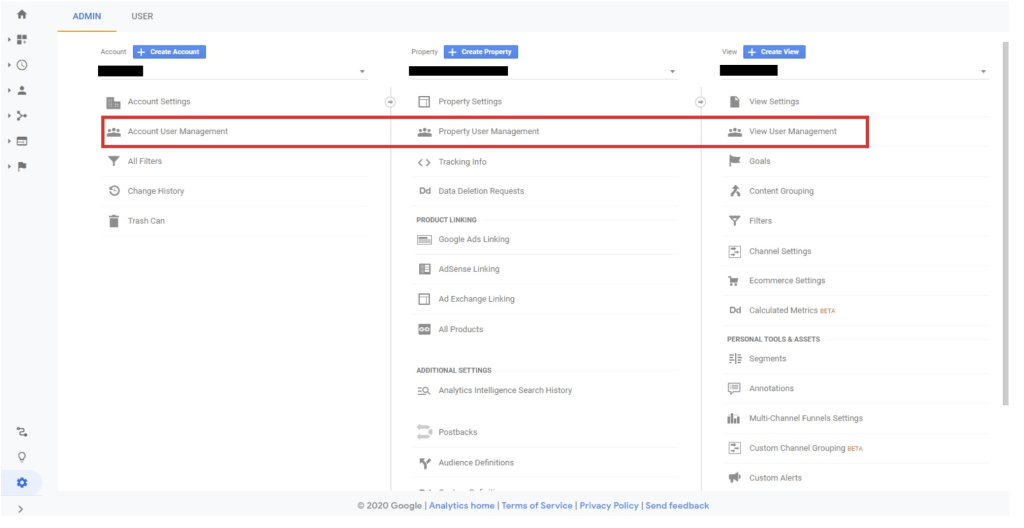
- Click the ‘User Management; option under the level of access for which you want to give your Agency
- Which is the best access to give?
- Account-level Access enables the user to see all websites within your account.
- Property Access will enable the user to set up integrations and website tracking, and is typically the level of access an agency is going to need.
- View Access will only enable users to view data, but not manipulate it in any way
Step 4
- Following this you will need to notify and choose permissions of users
- In the ‘permissions’ list click the “+” in the upper right corner
- Then click ‘Add users’
- Enter the email address of the people you would like to grant permissions to
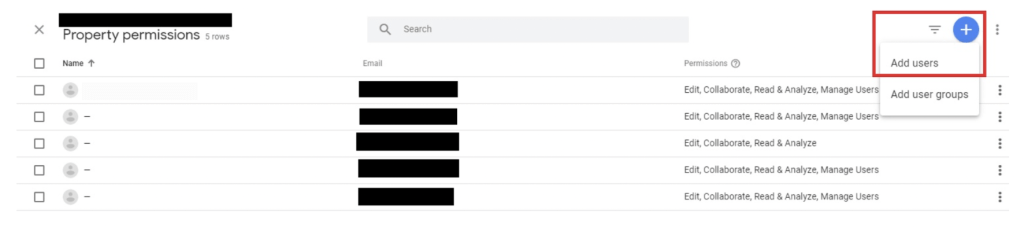
- Check the “Notify new users by email” box if you want to send an alert message to them
- Then, select the permissions you want them to have by checking the appropriate boxes.
- Finally, click “Add” in the upper right of the screen.
You will now be able to provide agency access to your Google Analytics account!